COURSE NOTES
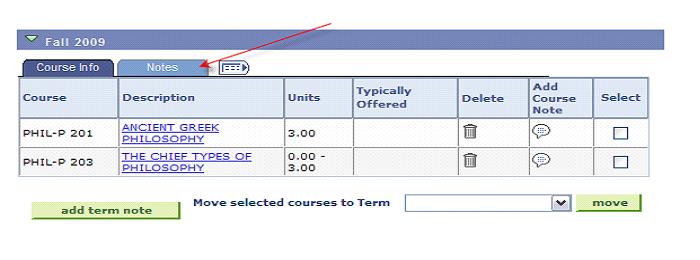
In the first screen shot, a student has added some courses to his planner in the usual way. See the column called Add Course Note.
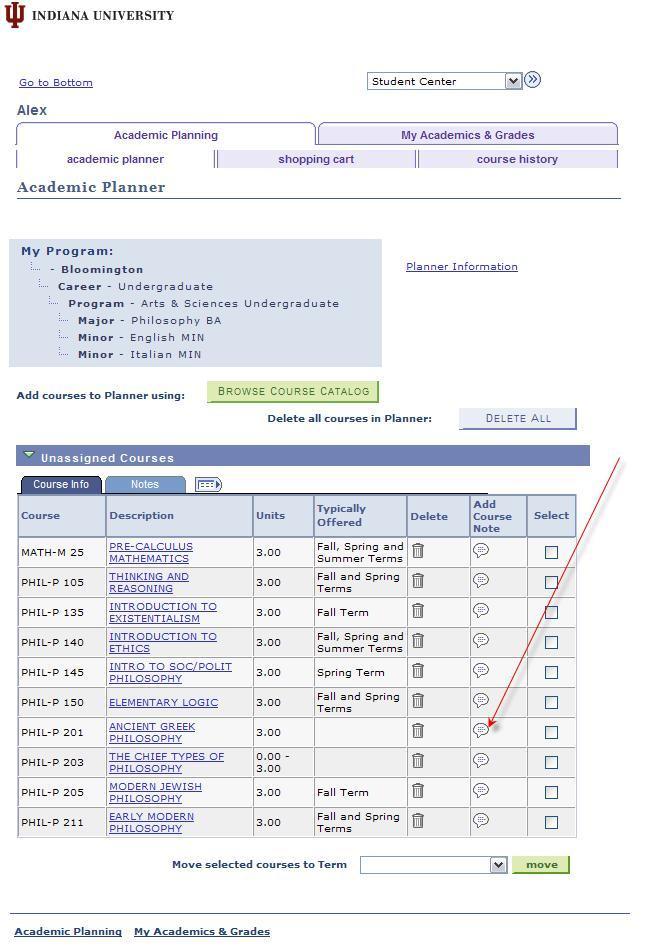
When you click on the Add Course Note icon, you can save a note for that specific course on the page that comes up.
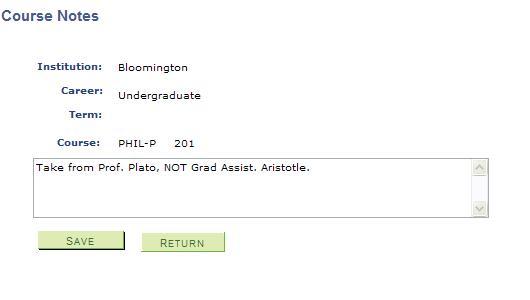
Click on Save (a confirmation will appear that the notes was saved) and then Return.
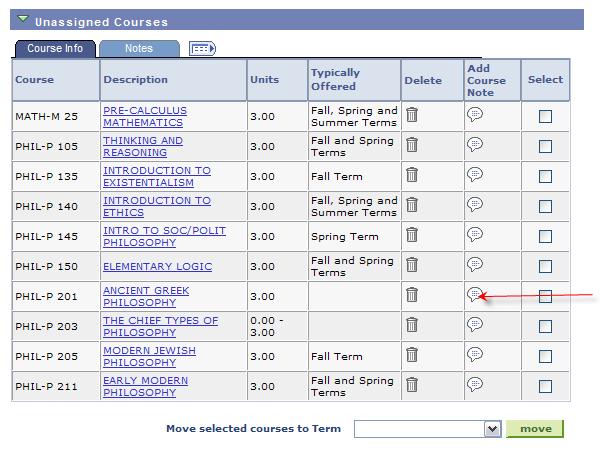
In the condensed view of the grid, you can click on the Add Course Note icon of the course for which you have a note to view:
and this will bring up the saved notes entry page, which can now be edited and saved again if desired.
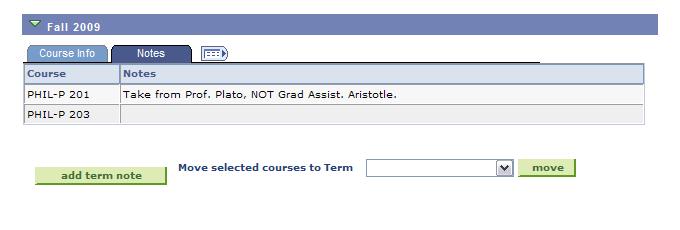
You can also get a view of Course Notes by clicking on the Notes tab at the top of the grid:
which will produce this view:
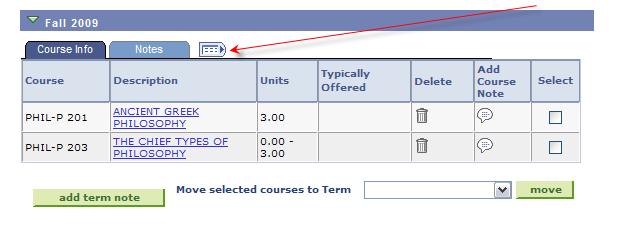
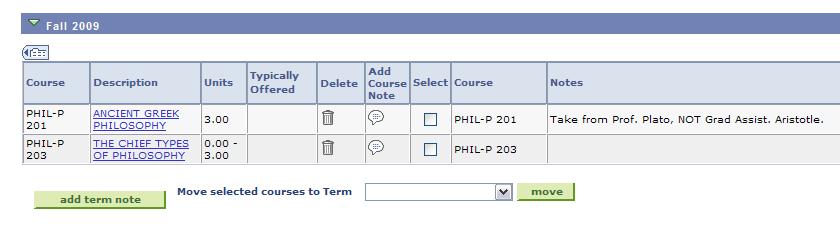
You may also see an expanded view by clicking on the expand-a-grid icon:
which will produce this view:
When a course with a note attached is moved about to various terms or back to unassigned, the note will remain (until removed).
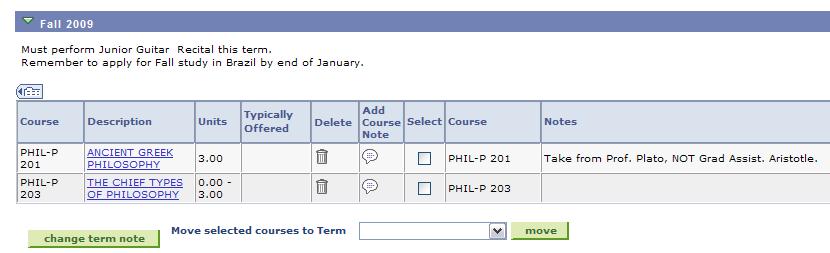
TERM NOTES
A term grid only displays if it has is a course in it. Thus, if a note is attached to a term and all courses are moved out of the term, that grid and the note will not be displayed. If a course is moved back into the term, then the grid and note will display.
When courses are moved from the Unassigned grid into a term, the option to Add Term Note appears for that grid.
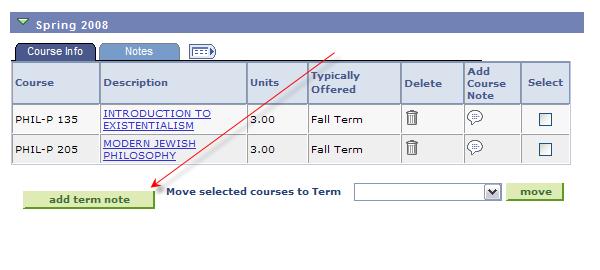
When you click on that button, a similar text-save page appears:
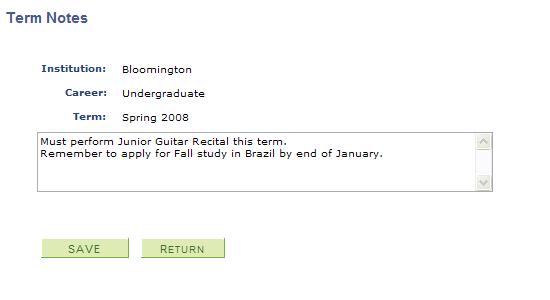
and upon 'Save' and 'Return' the term grid now displays the notes. You may also edit term notes by clicking on the button, which is now labeled 'change term note.'
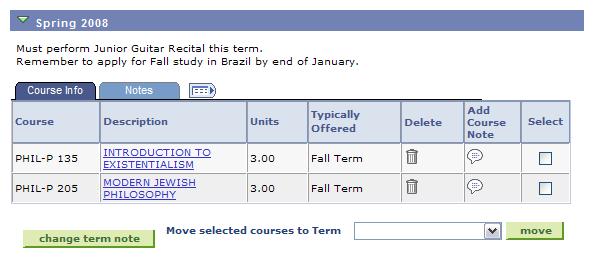
A fully expanded grid with term and course notes looks like this: